Install NVIDIA
Drivers on Ubuntu
Complete Step-by-Step Tutorial

Getting your NVIDIA GPU up and running on a Linux system can seem daunting, but it's actually straightforward once you know the steps. Whether you're setting up a machine learning workstation or just want to leverage your GPU's power, this guide will walk you through the entire process.
Before downloading anything, you'll need to collect some information about your system to ensure you get the right driver.
Check if drivers are already installed
Start by running this command to see if you already have NVIDIA drivers:
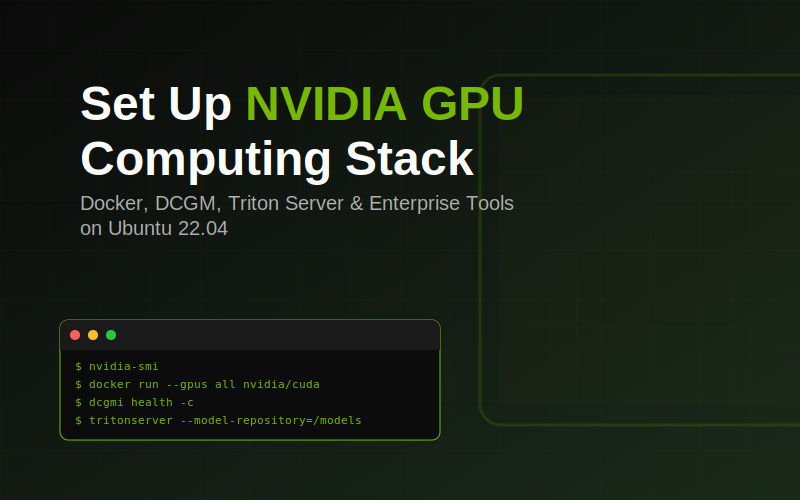
nvidia-smi
If this command fails or shows no output, you'll need to proceed with the installation.
Identify your NVIDIA hardware
Find out exactly which NVIDIA GPU you have:
lspci -Q | grep NVIDIA
This will display your GPU model, which you'll need for selecting the correct driver.
Verify your operating system
Check your OS version to ensure driver compatibility:
cat /etc/os-release
Determine your system architecture
Finally, check whether you're running a 32-bit or 64-bit system:
uname -a
Now that you have all your system information, head over to the NVIDIA Driver Downloads page. Use the information you gathered to select the appropriate driver for your hardware and OS.
Download the driver package to your system. You'll end up with a .deb file if you're on Ubuntu or Debian-based distributions.
Clean up any existing drivers
Before installing the new driver, remove any previous NVIDIA driver installations to avoid conflicts:
sudo apt-get remove --purge '^nvidia-.*'
Install the downloaded driver package
Navigate to where you downloaded the driver and install it:
sudo dpkg -i [path-to-downloaded-driver.deb]
Replace [path-to-downloaded-driver.deb] with the actual filename you downloaded.
Add the driver repository key
The driver package includes a GPG key that needs to be added to your system. The exact path may vary slightly depending on your driver version, but it will look something like this:
sudo cp /var/nvidia-driver-local-repo-ubuntu2204-570.86.15/nvidia-driver-local-081EF1BD-keyring.gpg /usr/share/keyrings/
Update and install
Update your package repositories to recognize the new driver:
sudo apt update
Then install the driver (adjust the version number to match what you downloaded):
sudo apt install nvidia-driver-570 -y
Verify the installation
After installation completes, reboot your system. Once you're back up, verify everything is working:
nvidia-smi
You should now see detailed information about your GPU, including its name, driver version, and current status.
Now that your GPU is set up, here are some helpful commands for monitoring its performance.
Check GPU utilization
See how hard your GPU is working:
nvidia-smi --query-gpu=utilization.gpu --format=csv
Monitor memory usage
Check how much VRAM is being used:
nvidia-smi --query-gpu=memory.used --format=csv
Comprehensive monitoring dashboard
For a more complete picture, you can monitor multiple metrics at once and have them refresh automatically:
nvidia-smi --query-gpu=utilization.gpu,memory.total,memory.used,memory.free,temperature.gpu,power.draw --format=csv -l 2
This command displays GPU utilization, total memory, used memory, free memory, temperature, and power draw. The -l 2 flag makes it loop and refresh every 2 seconds, giving you a real-time monitoring dashboard.
If you encounter issues, here are a few things to try:
/var/log/apt/term.log for detailed error messagesnvidia-smi still doesn't work, try running sudo modprobe nvidia to manually load the kernel moduleWith your NVIDIA drivers properly installed, you're now ready to tackle GPU-accelerated workloads, whether that's machine learning, rendering, or any other compute-intensive task!